Kneading Pasta Dough Kneading Pasta Dough on a Blue Table
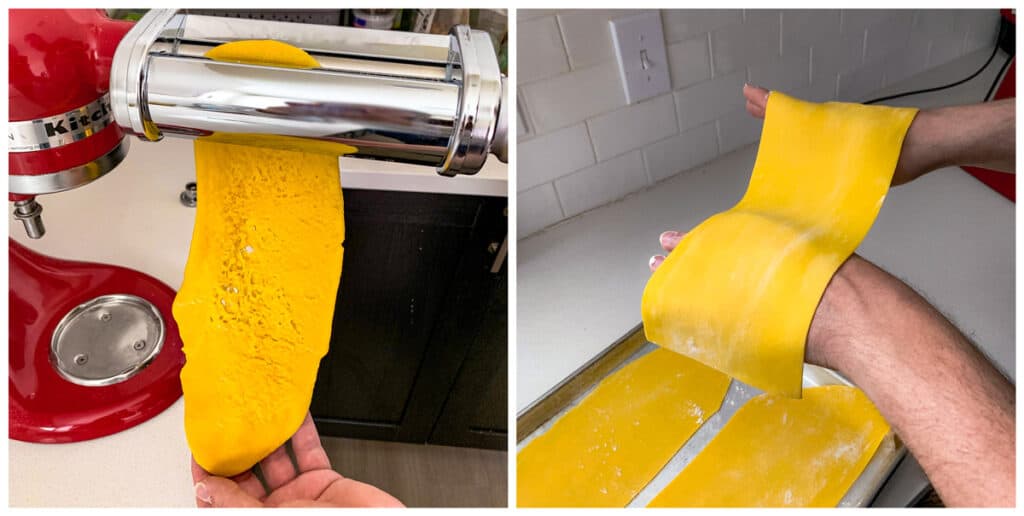
A big problem we ran into on our first attempts at rolling homemade pasta was that it was developing cracks, tears and holes instead of forming nice smooth long sheets. When we ran it through our KitchenAid pasta roller attachment, it ripped and fell apart. So what causes pasta dough to tear and form holes when rolling?
The primary reason is that the dough is not being rolled, folded and fed in properly on the correct settings of the pasta roller. If the dough is not flat enough, fed in at the wrong angle, or too fast through the roller, it can bunch up and rip.
Other factors that can contribute to tearing include the dough not being properly hydrated, kneaded or given a chance to rest. Read on and we'll explain how each of these problems occur and how you can fix them so your pasta won't rip again!
Why Does Pasta Dough Tear When Rolling?
Assuming there's no obvious problem with the dough itself, which we'll also discuss below, the most likely culprit for the dough coming apart is in the technique of rolling it out. This also includes the process of laminating or folding the dough.
We'll take you through the process so you can avoid the pitfalls.
Preparing the Dough for Rolling
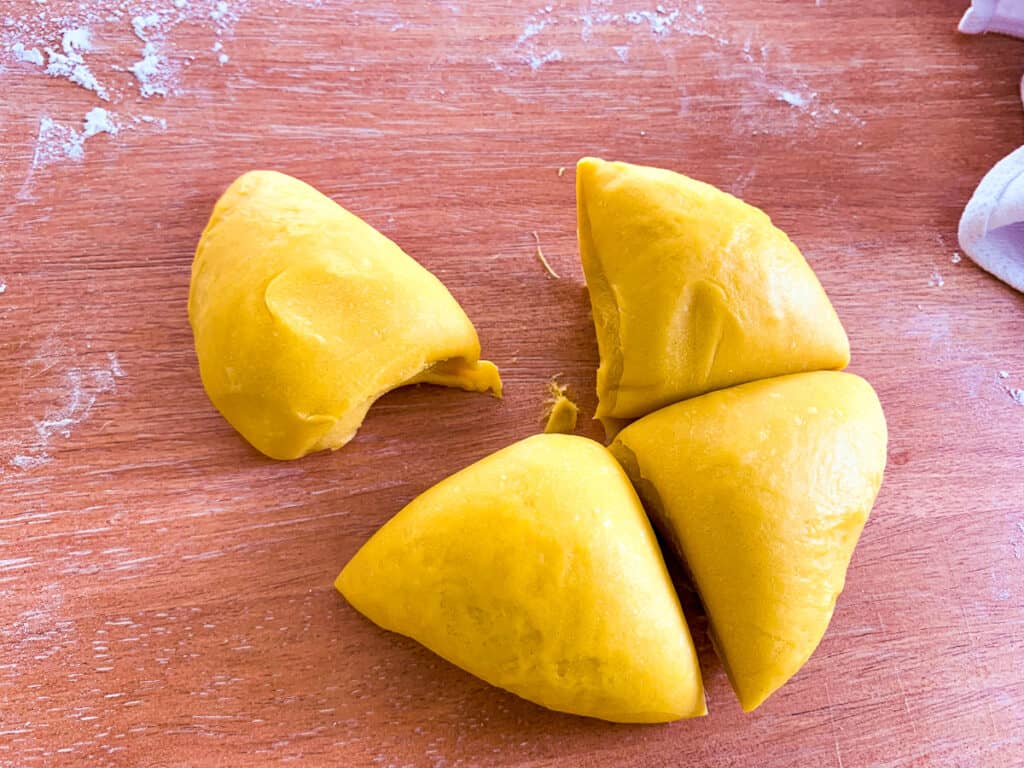
First things first. It's helpful to work in manageable amounts of dough, so that if it tears apart you're not having to troubleshoot your entire batch. Dividing a pound of dough into quarters will make it easy to handle. Be sure to cover the dough you're not working with so it doesn't dry out!
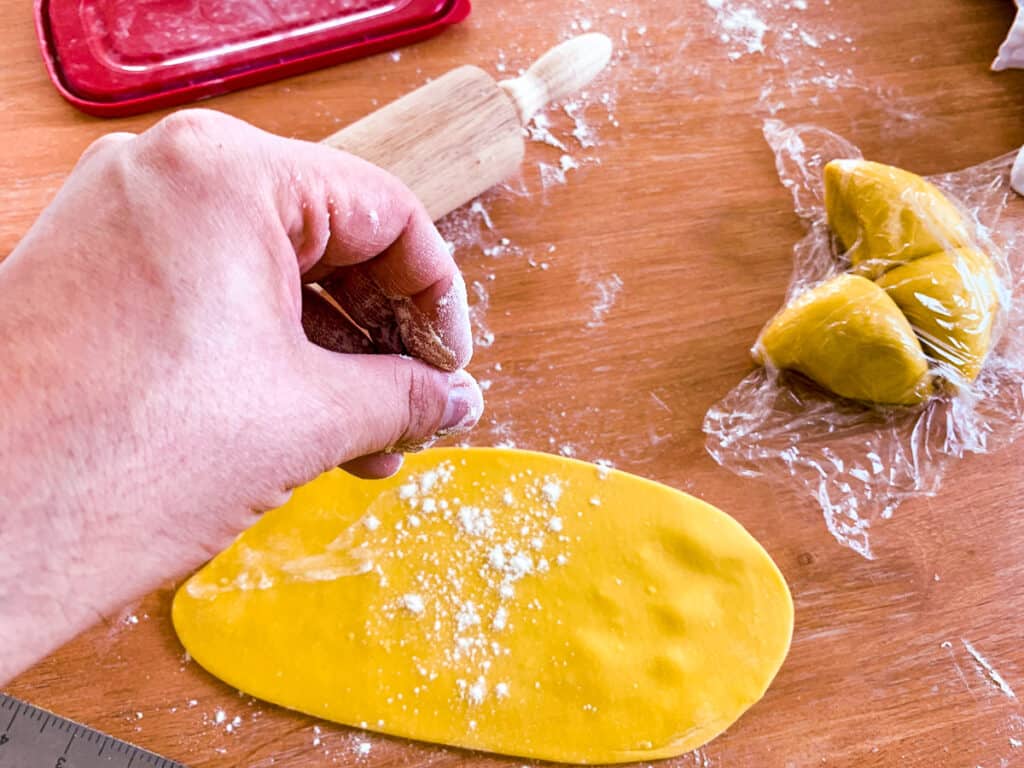
Before you begin feeding the dough through on the widest setting, lightly dust your dough with flour on a lightly floured work surface.
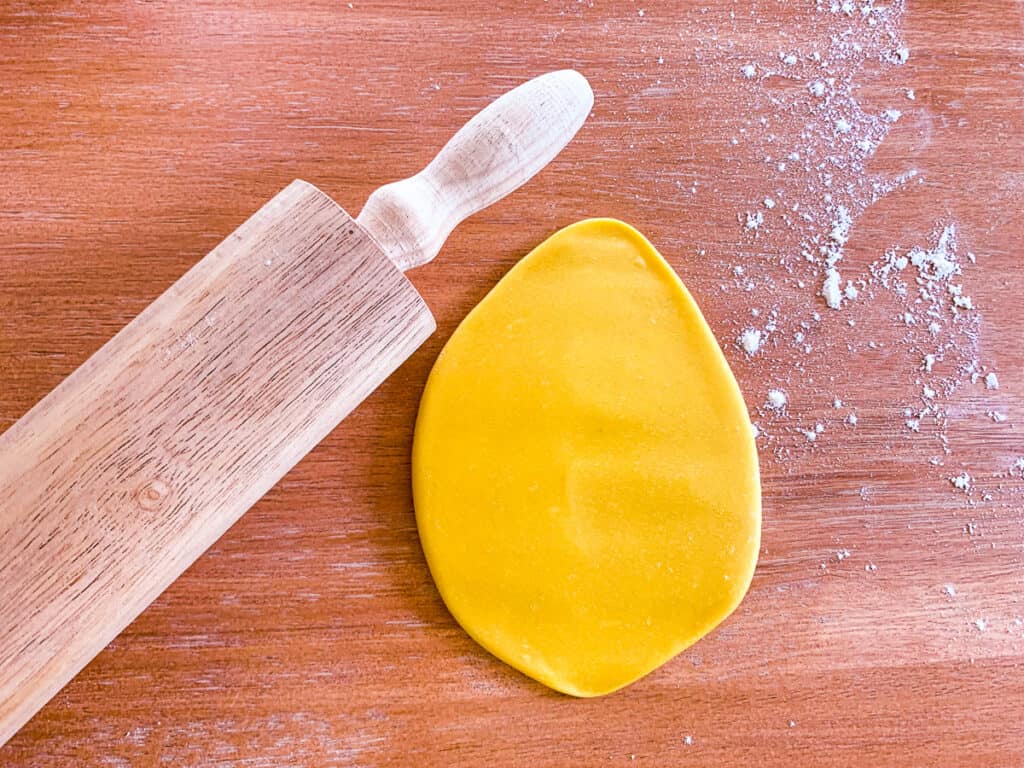
Then take a rolling pin and roll your dough out into an oval shape the width of your pasta roller, which is usually about 6 inches with a thickness of about a ¼ inch. This will ensure the dough will pass through the roller in the first place.This part is so simple, but if you skip it, your dough may go awry.
Why Does Pasta Dough Tear When Feeding it into the Roller?
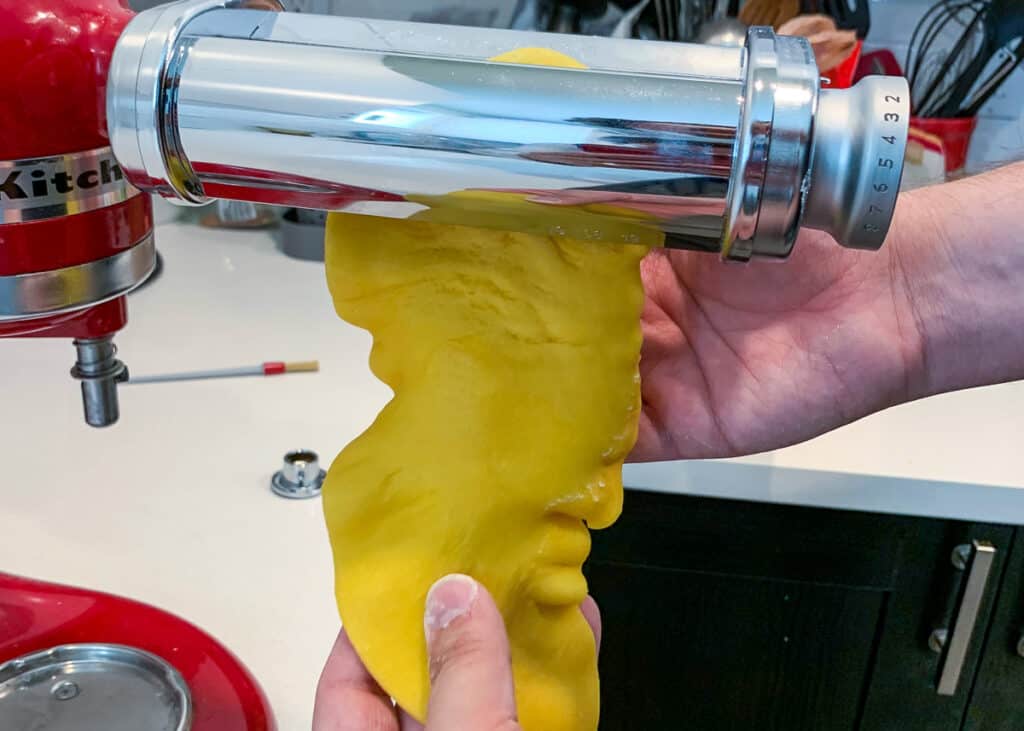
A few things could be happening here:
- The dough was fed in a couple of times on the same setting, without folding (laminating) or dusting with flour. It's important to add a little bit of flour after each pass, especially if you're staying on the same setting. This gives the dough the traction to pass through. Without that traction, the dough begins to drag and bunch up.
- If you skip settings, and don't start on the widest setting, the dough will struggle to pass through the roller.
- The dough is a bit too moist and this is causing the dough to stick to the roller, creating tears. Again, adding some more flour will fix this.
Feeding in Crooked or Off-Center
Feeding the dough in is more important than guiding it out. Be careful to feed the dough into the roller as straight as possible with every pass. For your first couple of passes, you can grab an end of the dough with one hand and feed the other end in vertically.
While most of the time the roller can correct minor human errors, the dough can get jammed if it's fed in crooked. In this case, you'll likely have to start over and re-roll.
As shown below, the dough is fed in slightly crooked, because it's not held vertically. It's also becoming wider than the width of the roller, and it is starting to fold in on itself. We'll discuss below in the laminating section how you can correct this.
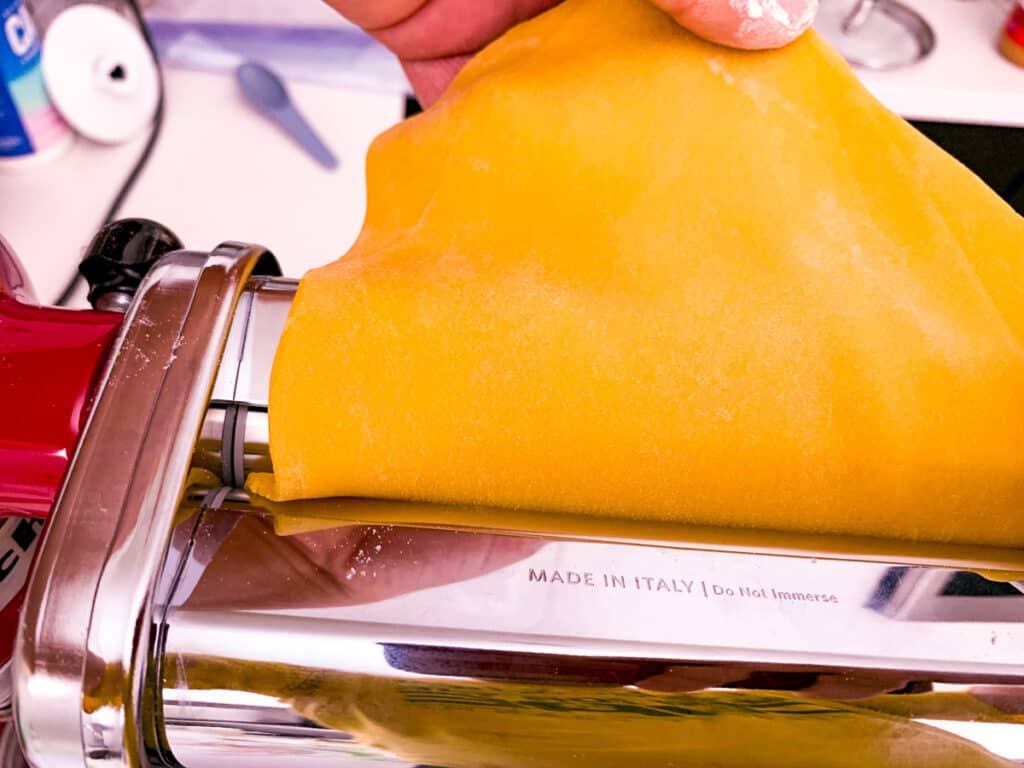
As your pasta sheet gets longer, you can keep it straight by draping it over the backs of your hands to guide it into the roller. This should give you more control and prevent the dough from folding in on itself. If this happens, you can correct it by laminating the dough which we'll discuss further down.
By feeding it in correctly, the roller will grab the dough and pull it straight though.
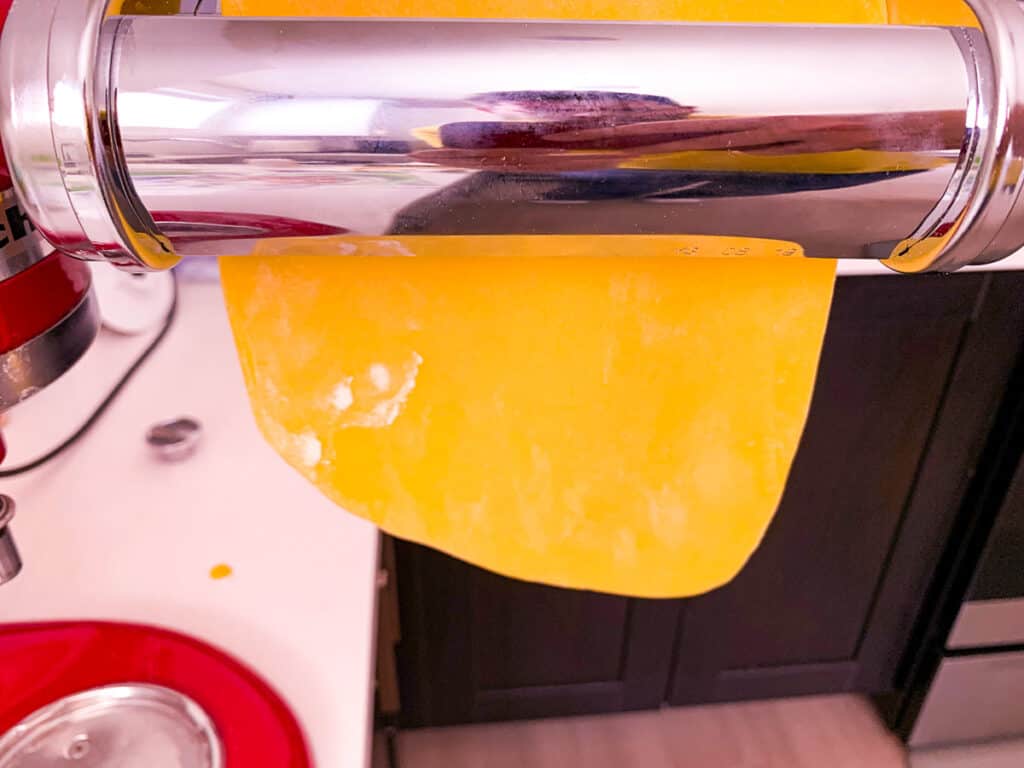
Note: Keep in mind the more you have to re-roll the pasta, the more flour you'll have to use, which can make it dry out faster and harder to work with.
Rolling Too Thin, Too Quickly
Whether you're rolling manually or electric, you should always begin on the widest setting of your pasta roller. Then, gradually work down to the next narrowest setting until you get to your desired thinness.
You're going to want to run it through on this first setting 2-3 times before moving to the next narrowest setting while laminating the dough (which we'll discuss below).
Don't skip settings! The reasons are twofold. This allows the pasta to slowly adjust and prevents it from bunching up and/or ripping.
Secondly, this continues kneading the dough further and develops the gluten network, which makes the pasta more pliable.
Why Does Pasta Dough Tear from Rolling Too Fast?
It seems obvious, but rolling pasta too fast can pull on the dough too much and can cause tears.
Pasta dough has elastic properties which gives it chewiness, but like pulling a rubber band beyond its limits, you can tear apart the gluten network. This is especially true once you've thinned out your pasta to a ravioli thin level. It's much more delicate at this point.
If you're using a manual pasta roller or even a traditional rolling pin, you have total control of the speed. But if you're using an electric roller such as the KitchenAid mixer pasta attachment, you want to set the speed so that it doesn't roll too fast. On the KitchenAid, it's a good idea to use the number 2 setting.
You can raise the speed setting on the machine slightly faster as you get more practice. However, you probably don't want to go past medium speed (Setting 5).
We prefer the advantages an electric roller offers. First, it's faster than hand cranking and will roll at a steady pace. Secondly, it frees the "crank hand" to catch and guide the pasta when it comes out the other end.
Laminating
Laminating is the process of folding the pasta dough and feeding it back through the pasta roller.
This continues the gluten formation, strengthening the dough and giving it better texture and bite. The stronger the dough, the less likely it will tear.
How to do it:

After you pass the dough through the roller on the first setting, you're going to want to dust it with a small amount of flour, then fold the dough in half and cut about ¼ inch off each side at the fold to square it off.
This makes it much easier to feed into the machine, and you'll get uniform straight sheets. You can save the scraps you cut off and re-roll into another sheet.
Is this necessary to do at all stages?
No, because as your sheet gets progressively longer, it will become impossible to feed back through. However, you'll want to do this at least once for the first couple of stages.
When you've progressed through all the settings and your pasta is as thin as you want it, you can square it off the ends and add the extras to the scrap pile.
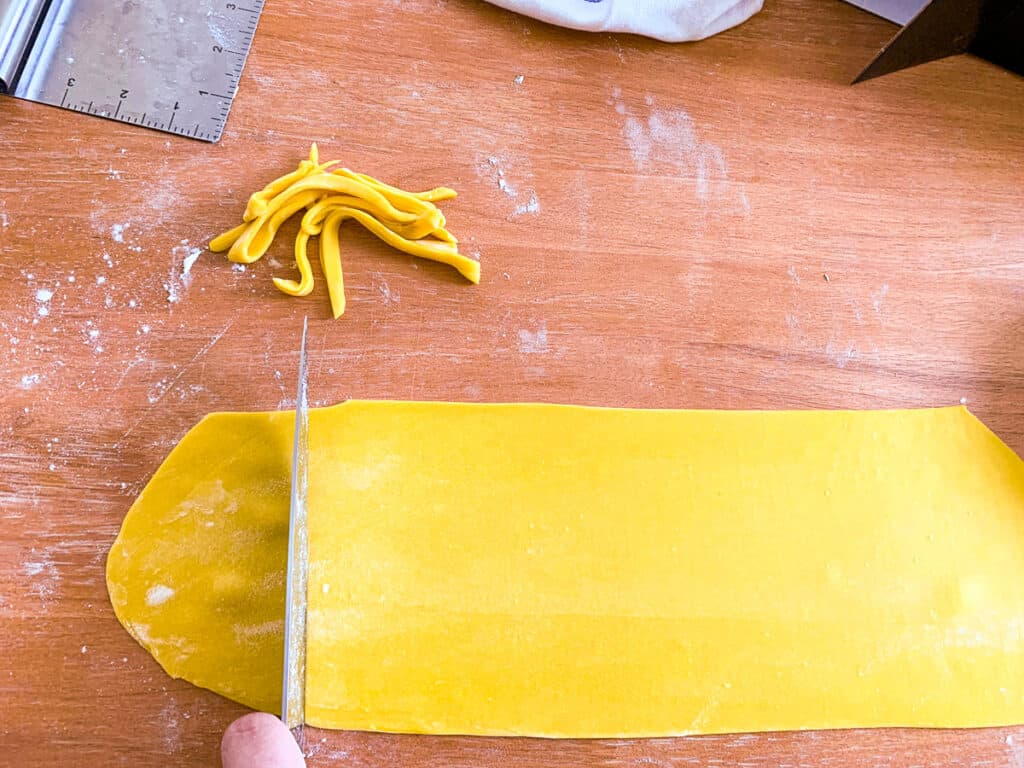
Note: You can also use this laminating technique to compress fresh herbs into your pasta.
Problems with the Pasta Dough
Sometimes problems may arise because of the pasta dough itself. Here are some common situations that can trip you up, plus some solutions.
Why Does Pasta Dough Tear if it is Too Dry and Tough?
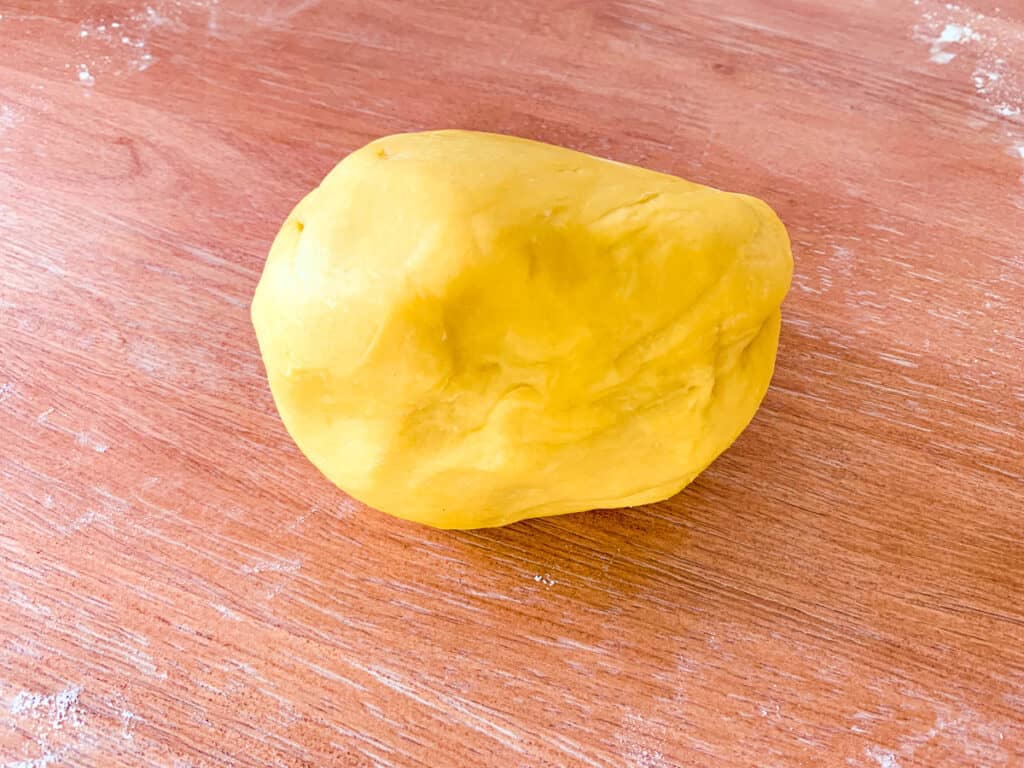
Can you overwork the dough and make it tough by kneading it too much? Not really, but you can add too much flour and dry it out. This can happen at the mixing stage or when you continually dust the sheets with flour while re-rolling.
Also if the dough sits out too long uncovered, it will lose moisture and dry out. In both cases if it's too dry, the dough will crumble.
It's a lot more difficult to add moisture after you've kneaded the dough. You'll end up with a gummy dough because the extra water can't penetrate it. However, resting the dough can help bring a dry dough back to life.
Pasta dough needs to rest.
Kneading the dough builds the gluten network and makes it elastic and springy. Resting the dough for at least 30 minutes after kneading allows the gluten strands to relax. It also allows the dough to fully hydrate.
This makes the dough easier to work with and less likely to tear while rolling it. If you skip the step of resting your dough, it's going to affect the final texture of your pasta. For example, if you're making thinner, more delicate pasta, it might be more rubbery than you'd prefer.
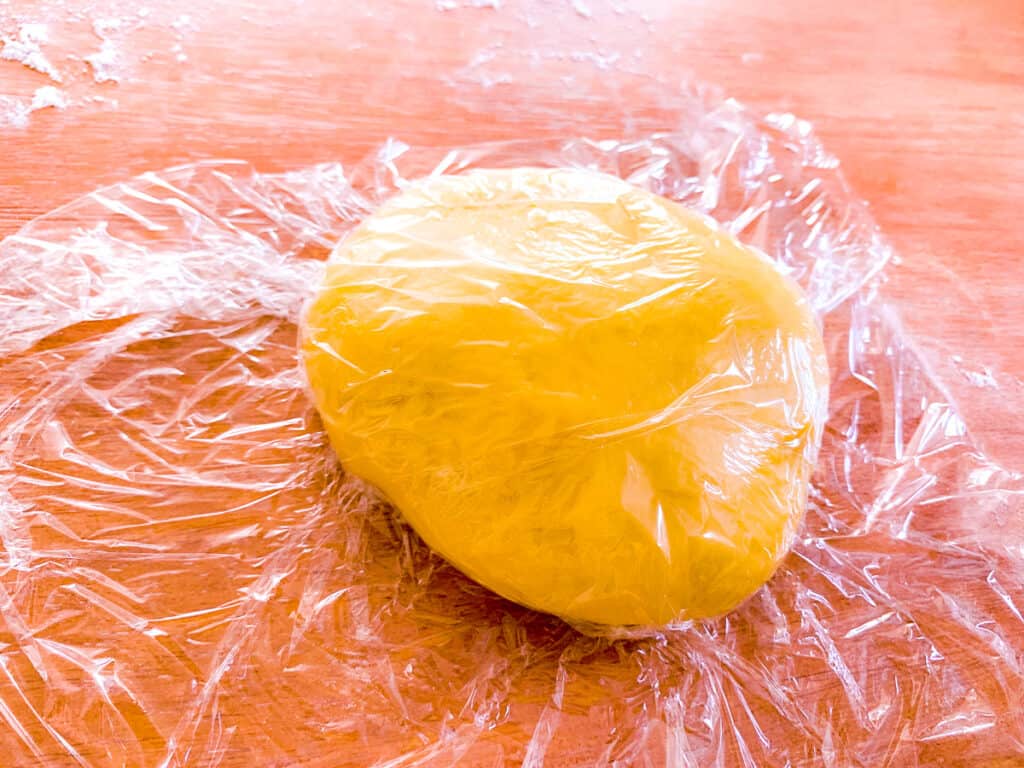
After you've kneaded your dough, cover it with plastic wrap. You can either leave it on your work surface for 30 minutes, or place it in the refrigerator. It can be refrigerated up to 3 days. When you take it out of the fridge, let it sit for 10 minutes before working with it.
What Else Can You Do to Prevent Dry Pasta Dough from Tearing?
When you're initially mixing your dough, it's best to err on the side of wetter. You can gradually add in more flour as needed until it's no longer sticking, but smooth and firm.
A lot of people prefer to mix by hand for this reason. It offers a lot of control over the addition of the wet ingredients.
Also, thicker noodles, like lasagna and fettuccine are more forgiving. So you can salvage dry dough by not trying to roll it as thin. When you're new to pasta making at home, practice making thicker pastas first, then move to thinner pastas. It'll remove a lot of frustration.
What if Your Pasta Dough is Too Wet?
The dough can also be too wet and won't hold together, or it may stick to the roller. There might be extra humidity in the air or more water content in the eggs you're using, which can throw off a recipe.
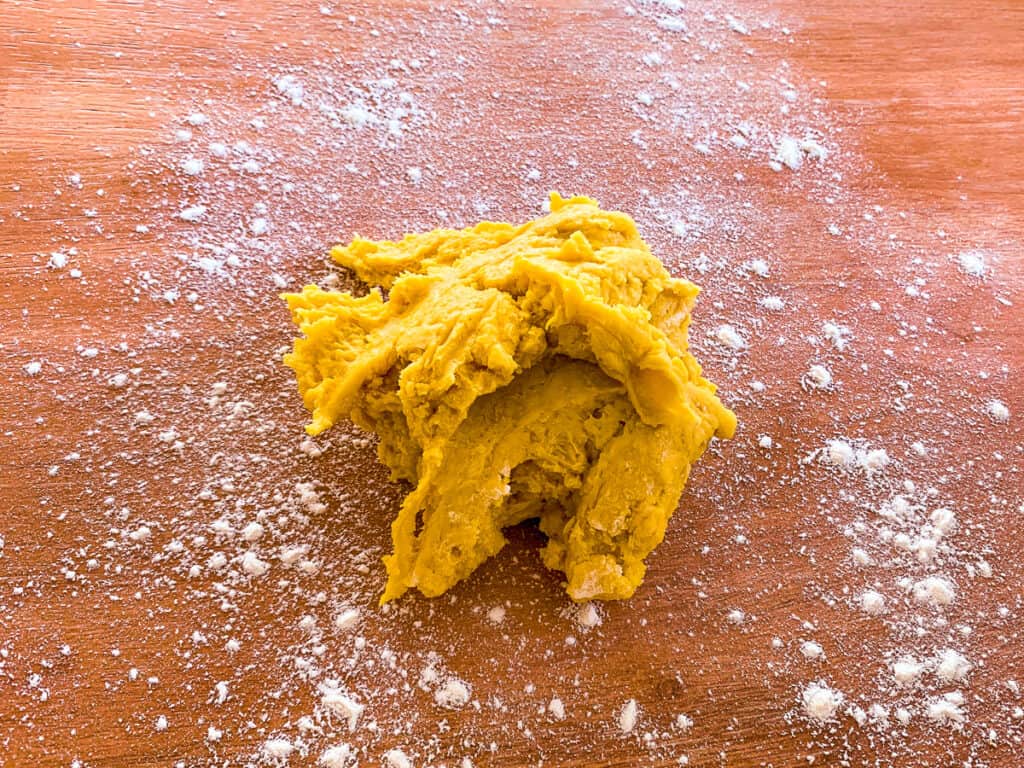
Here's what to do about it:
This is usually easy to fix by adding more flour until you get the right consistency. If the dough is sticking to the roller and not passing through, dust the dough and the roller with some more flour. This is why it's important to dust the pasta sheet on both sides when laminating.
Time to Make the Pasta
Hopefully these tips will eliminate any headaches you have. Now you can focus on making delicious sheets of homemade pasta.
As with anything worth doing, this is going to take a bit of practice. The good news is that eggs and flour are relatively cheap. You can keep working at it until the dough does what you want it to do.
Ironically, we had to try really hard to mess up this dough to get pictures of it tearing. We bungled it enough in the past that we have a hard time doing it now. So keep on practicing and it'll become foolproof before you know it.
Source: https://seasonedcooks.com/why-does-pasta-dough-tear/
0 Response to "Kneading Pasta Dough Kneading Pasta Dough on a Blue Table"
ارسال یک نظر